
A Step by step guide to getting an apple developer account. Please read carefully and follow all of the steps listed below. Feel free to reach out to your Koalo Buddy for help or with questions. In this guide, you will learn how to set up your Apple Developer Account to get started with your Koalo.app.
✅ Enroll as a Company (Recommended)
-> to view the individual guide click here (not recommended)
You can give different users access through their email addresses without sharing master account credentials. (Important for your account security and smooth handling of your App updates)
Added users can also access developer.apple.com. (Important for Koalo to be able to assist)
Different roles can be assigned to different users. (Important for Koalo to be able to assist)
Applications are listed under the organization's name (e.g., Company name LLC).
Revenues will be taxed at the company tax rate.
By following these steps, you will successfully set up your Apple Developer Account and be ready to publish your app with Koalo.app. Let's Go!
⚠️ Before you begin, you’ll need:
An Apple ID with two-factor authentication turned on. Your Apple ID information must be valid and up to date — including, but not limited to, your first name (given name), last name (family name), address, phone number, trusted phone number, and trusted devices.
D‑U‑N‑S® Number. Your organization must have a D‑U‑N‑S Number so that we can verify its identity and legal entity status. These unique nine-digit numbers are assigned by Dun & Bradstreet and are widely used as standard business identifiers. You can look yours up and request one for free.
Click here to start
2. Click Start your enrollment

3. Sign in with your apple Id

4. Accept the Apple Developer Agreement

5. Continue enrollment on the Web
6. Add personal information
Please don't enter an alias, nickname, or company name as your legal name, as doing so will cause a delay in the completion of your enrollment review.

7. Choose Enrollment method: Company

8. Enroll as a Company (Recommended)

9. Verify your ID
⚠️ IMPORTANT NOTICE: Upload a Picture of the Front and Backside of your Photo ID Card. Once you submit you can´t change or edit the pictures uploaded.


Click Browse to search in your files for the Front Id Picture and click upload, you should now see a picture file in the list
Click Browse again to upload the other Backside ID Picture and click upload, you should now see a picture file in the list

Click Submit when you uploaded the Front and Back side of your Photo ID
⚠️ IMPORTANT NOTICE: Upload a Picture of the Front and Backside of your Photo ID Card. Once you submit you can´t change or edit the pictures uploaded.


Enter your organization’s information
Follow the steps on the next few screens to provide the following information:
Entity type
Legal entity name. ⚠️ Do not use DBAs, fictitious businesses, trade names, or branches. The legal entity name will appear as the “seller” for apps you distribute. Example: Seller: ABC Company, Inc.
D‑U‑N‑S® Number
Headquarters address and phone number.
Website. ⚠️ Your organization’s website must be publicly available and the domain name must be associated with your organization.
Signing authority confirmation Confirm that you have the authority to bind your organization to legal agreements and provide the contact information of an employee who can verify your signature authority.
After you’ve submitted your information, it will be reviewed by Apple. This can take up to 48h. You’ll then receive an email with the next steps.
Complete enrollment and purchase
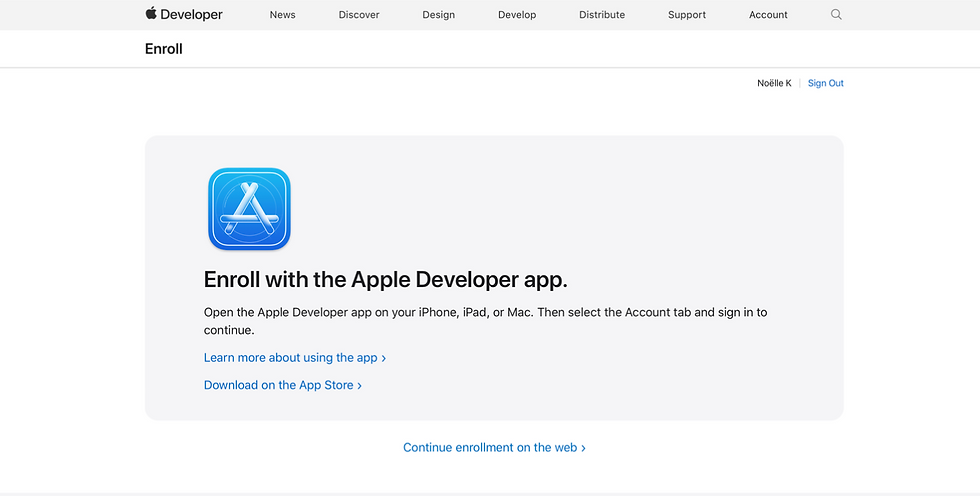
Once your enrollment information has been verified and approved, you’ll receive an email letting you know that you can complete your enrollment.
Click the Account tab
Sign in with the Apple ID you used for enrollment
Tap or click Continue Your Enrollment
Review the terms of the Apple Developer Program License Agreement and tap or click Agree.
Review your annual membership subscription details and click the Subscribe button.
Follow the subscribtion steps
Acceptance Email from Apple Developer
Invite us to your account
Click Account


Add: koaloapp@gmail.com and give Admin rights
Click continue


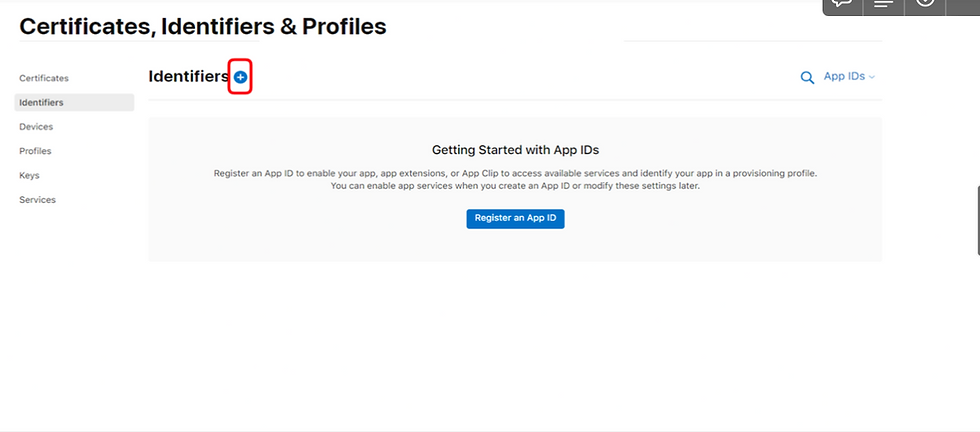

select App IDs and continue

Add the name of your app in the first field and Example: com.thenameofyourapp.thenameofyourapp
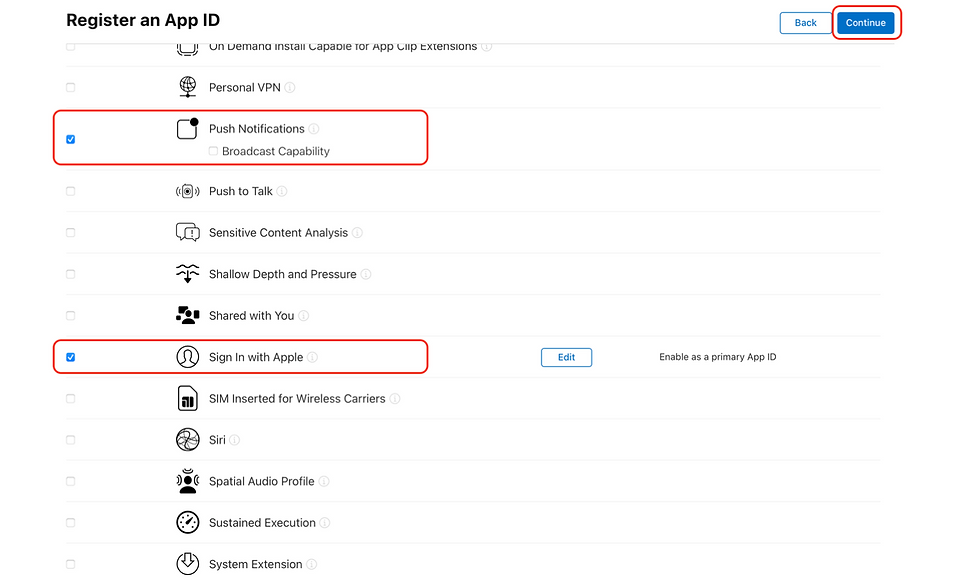
Select Access Wi-Fi Information, Associated Domains, Push Notifications, Sign In with Apple and click continue


Once you continue you should see the Identifier similar to the picture below


Copy and add the Issuer ID and the Key Id and add it to app form (Link to form)
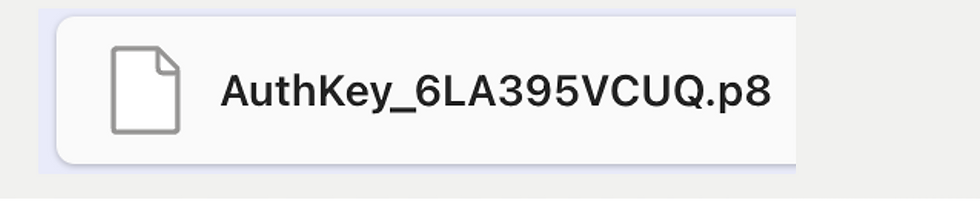
Download the AuthKey file and add it to the app completion form (Link to form)
⚠️ Important: You can only download this file once. Make sure you know where you saved it to, then go to the app completion form and upload the file.
Congratulations, we know this can be quite overwhelming, and are proud of you, that you followed these steps, to successfully set up your Apple Developer Account. You are now ready to publish your app with Koalo.app.
Comments